

Configuring Languages for Your Platform
Your site must have a Main language, otherwise referred to as a Parent language. Before you can start to create your content, you need to create the Parent language.
Alternatively, when you enter Wagtail for the first time, you will need to select a language.
What you need to know about adding languages
- The first language added is your Main / Parent language and will be the default language that your site displays in to the end user. (Note that our Wagtail CMS language is only ever English)
- After you’ve created a Section, Article, Footer page etc in the Parent language, you can add any number number of translated versions of these content items to the Parent page. Your user will be able to make a language preference when they visit the site, and have content delivered to them in that language until they choose to change the language option.
How to Add Languages
To create a new language, navigate to Settings > Locales > Add A Locale > Search for the Language from the drop down.
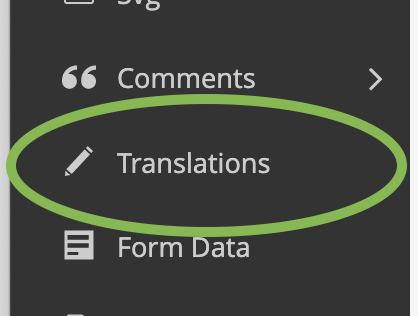
Once the new language is selected, access the Translations section of the site.
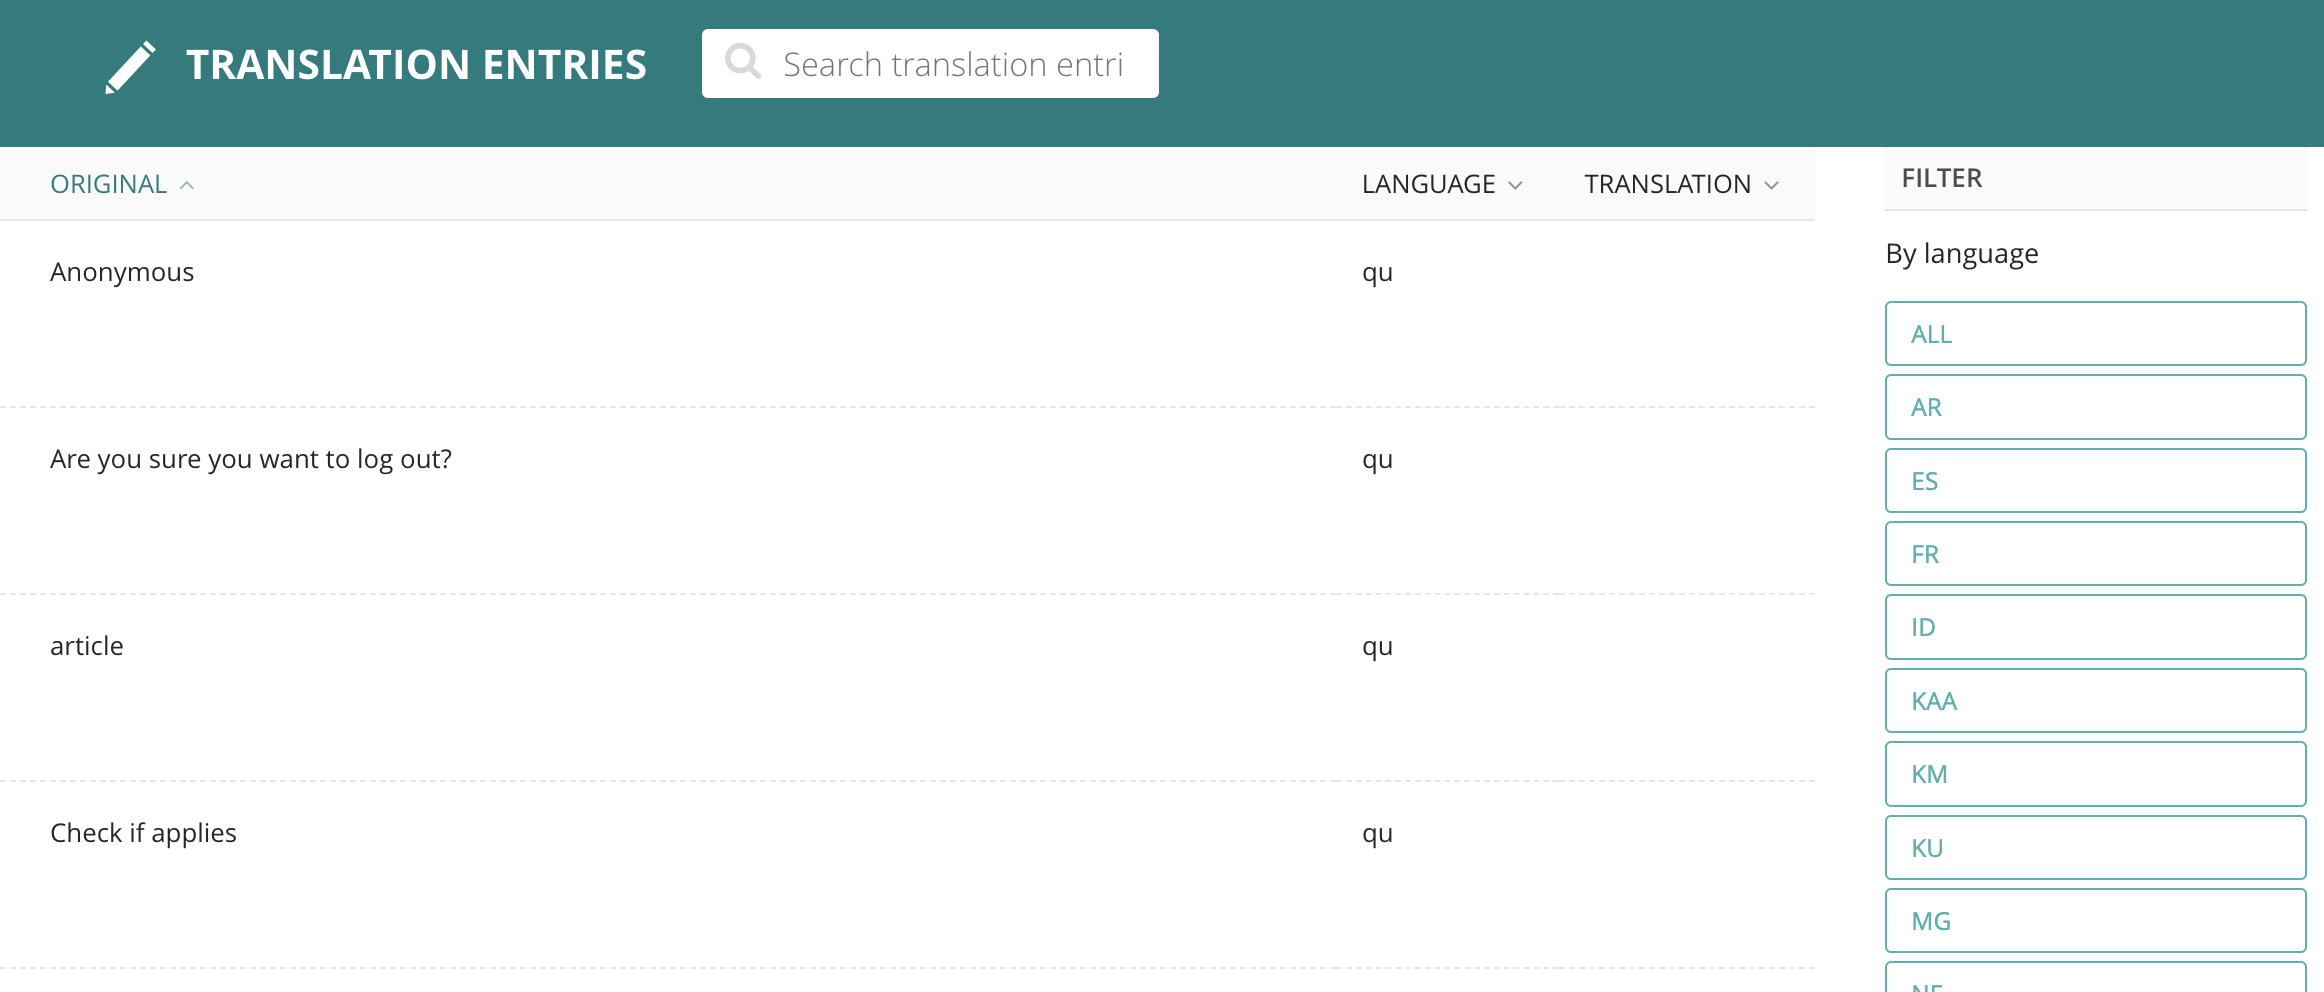
On the right-side of the Translations page you will find filters.
Filter results by language and select "YES" under the filter 'By Missing Translations.'
This action provides you with a list of site language that requires translation in order to allow users to experience IoGT in the chosen language. In the example below, we are reviewing all content in Quechua that require translation.
To translate these strings, hover over the original language and select EDIT.
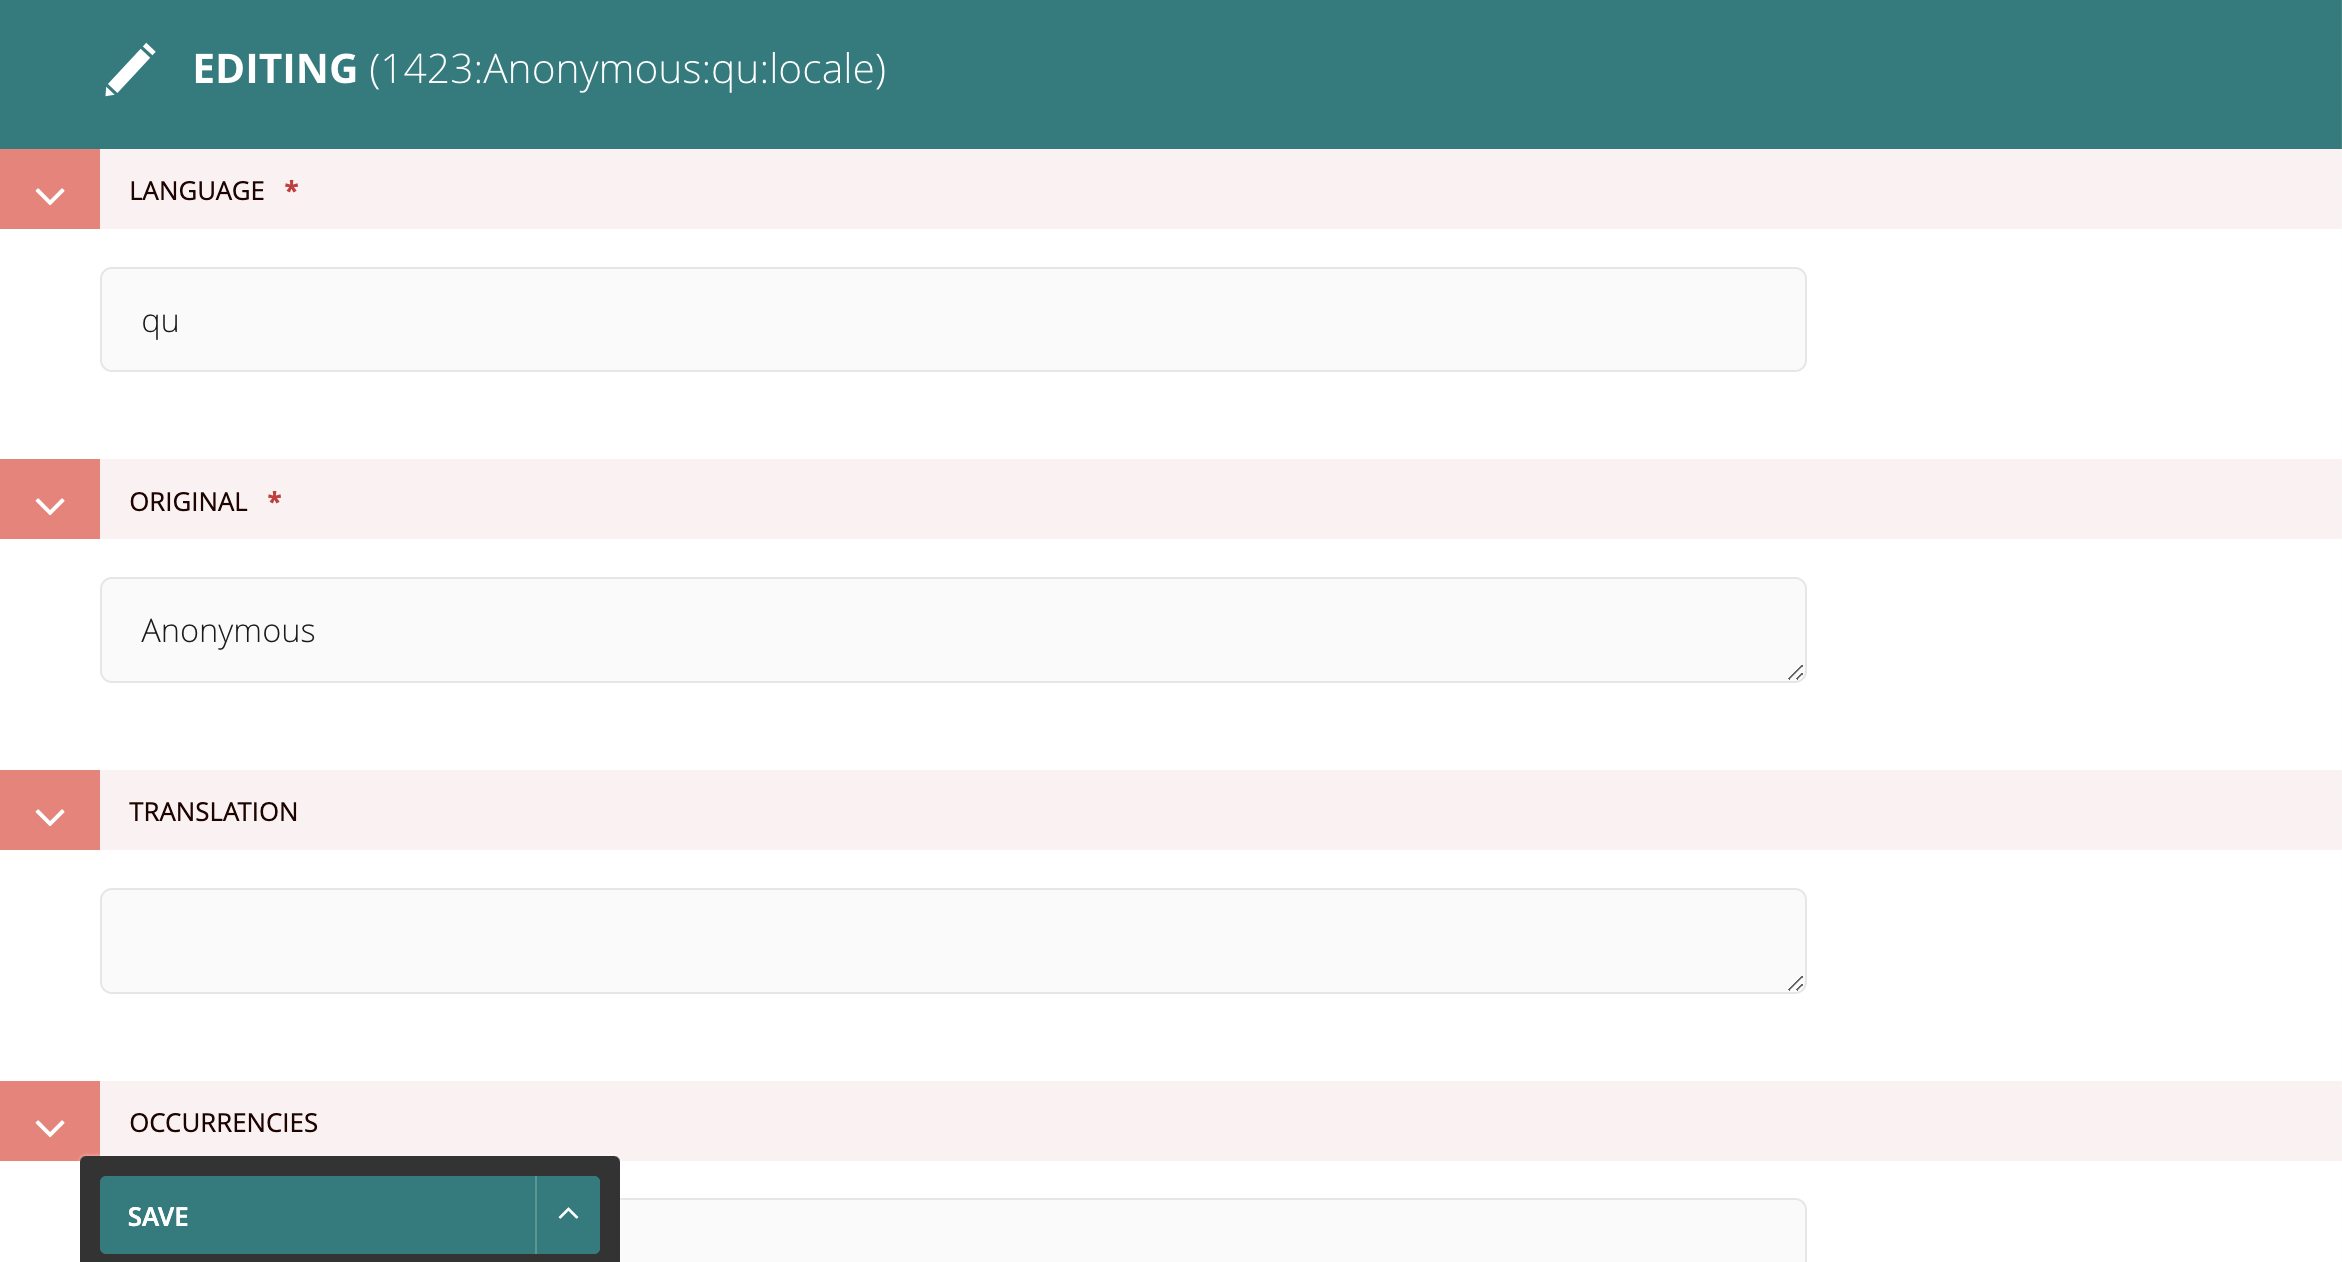
Type the translation of the original text in the box labeled "Translation" and select SAVE.
Continue to complete translations until the list is complete.
Average Rating: ☆ ☆ ☆ ☆ ☆ (0 reviews)