

Translating a Page
You can create a page in any language on your site and then translate it to other languages. It does not matter if the page is a section, quiz, survey, poll, or article or if you created the original version in the primary language or not: the process remains the same.
Step 1: Request Translation
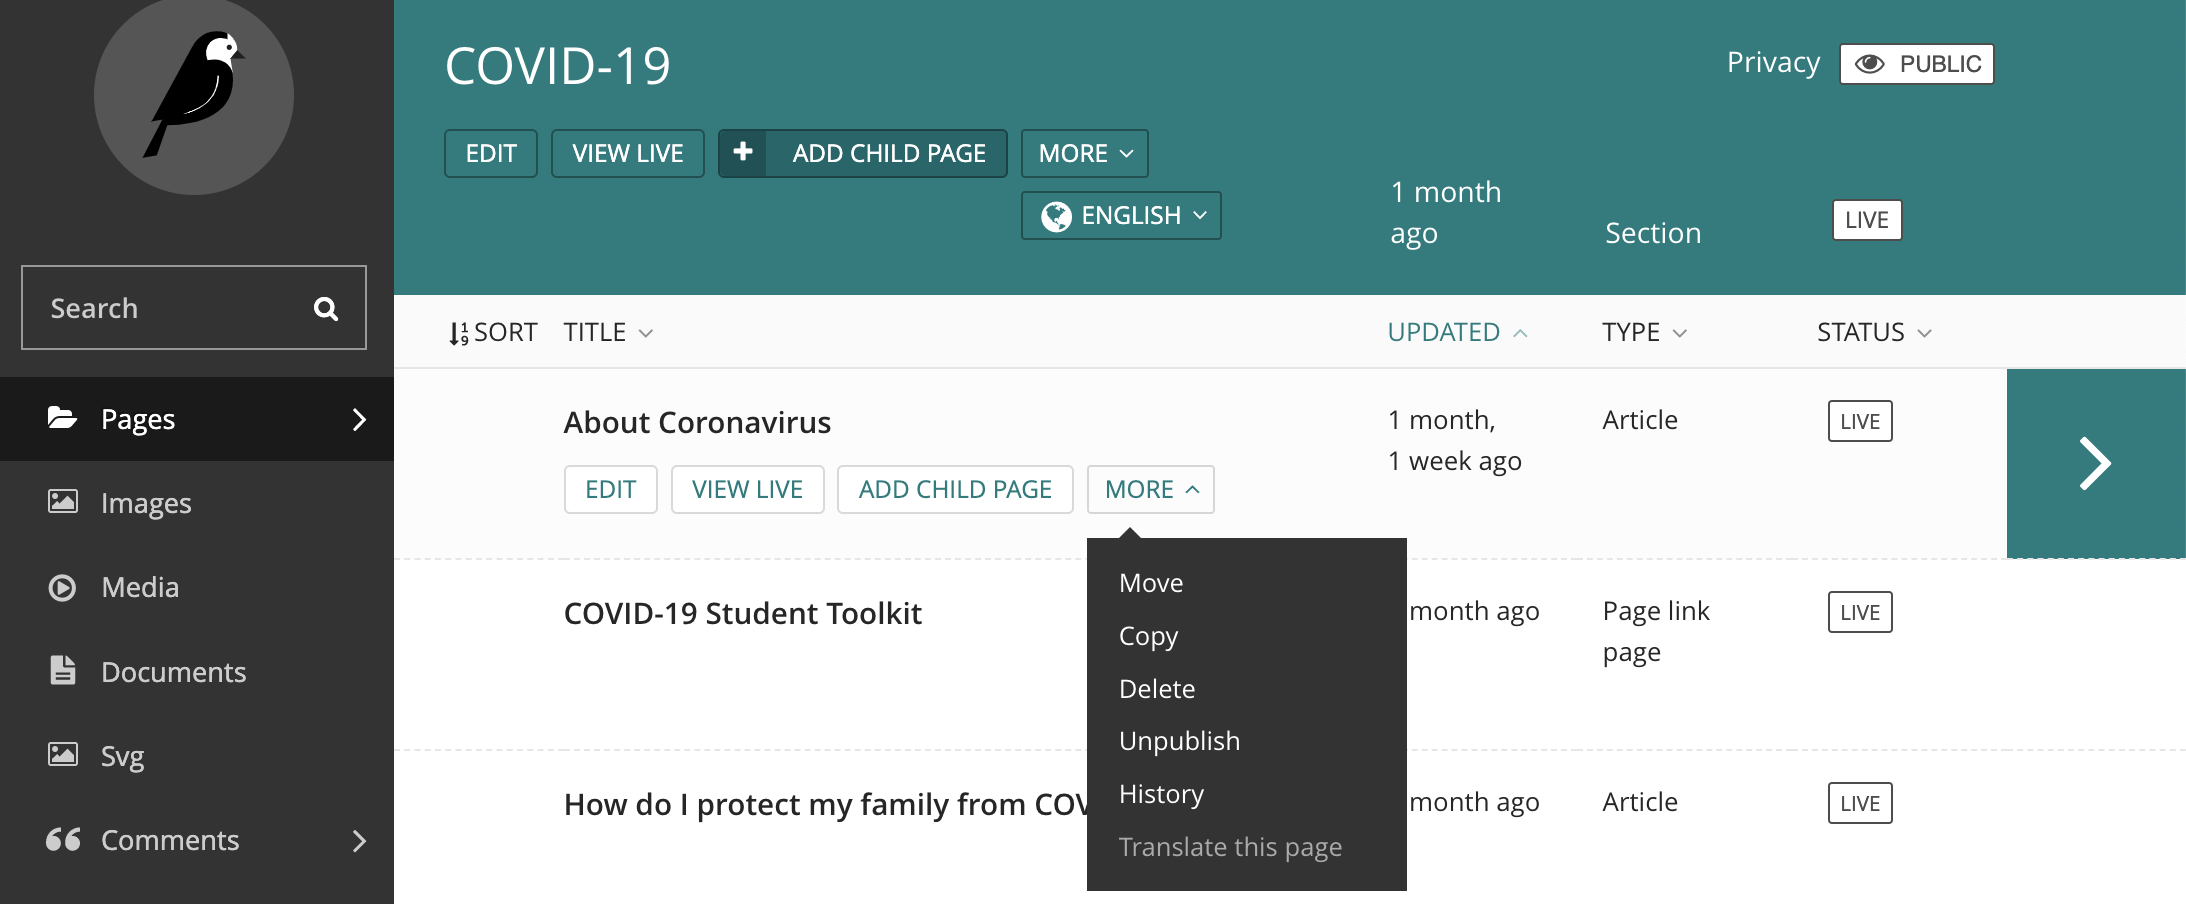
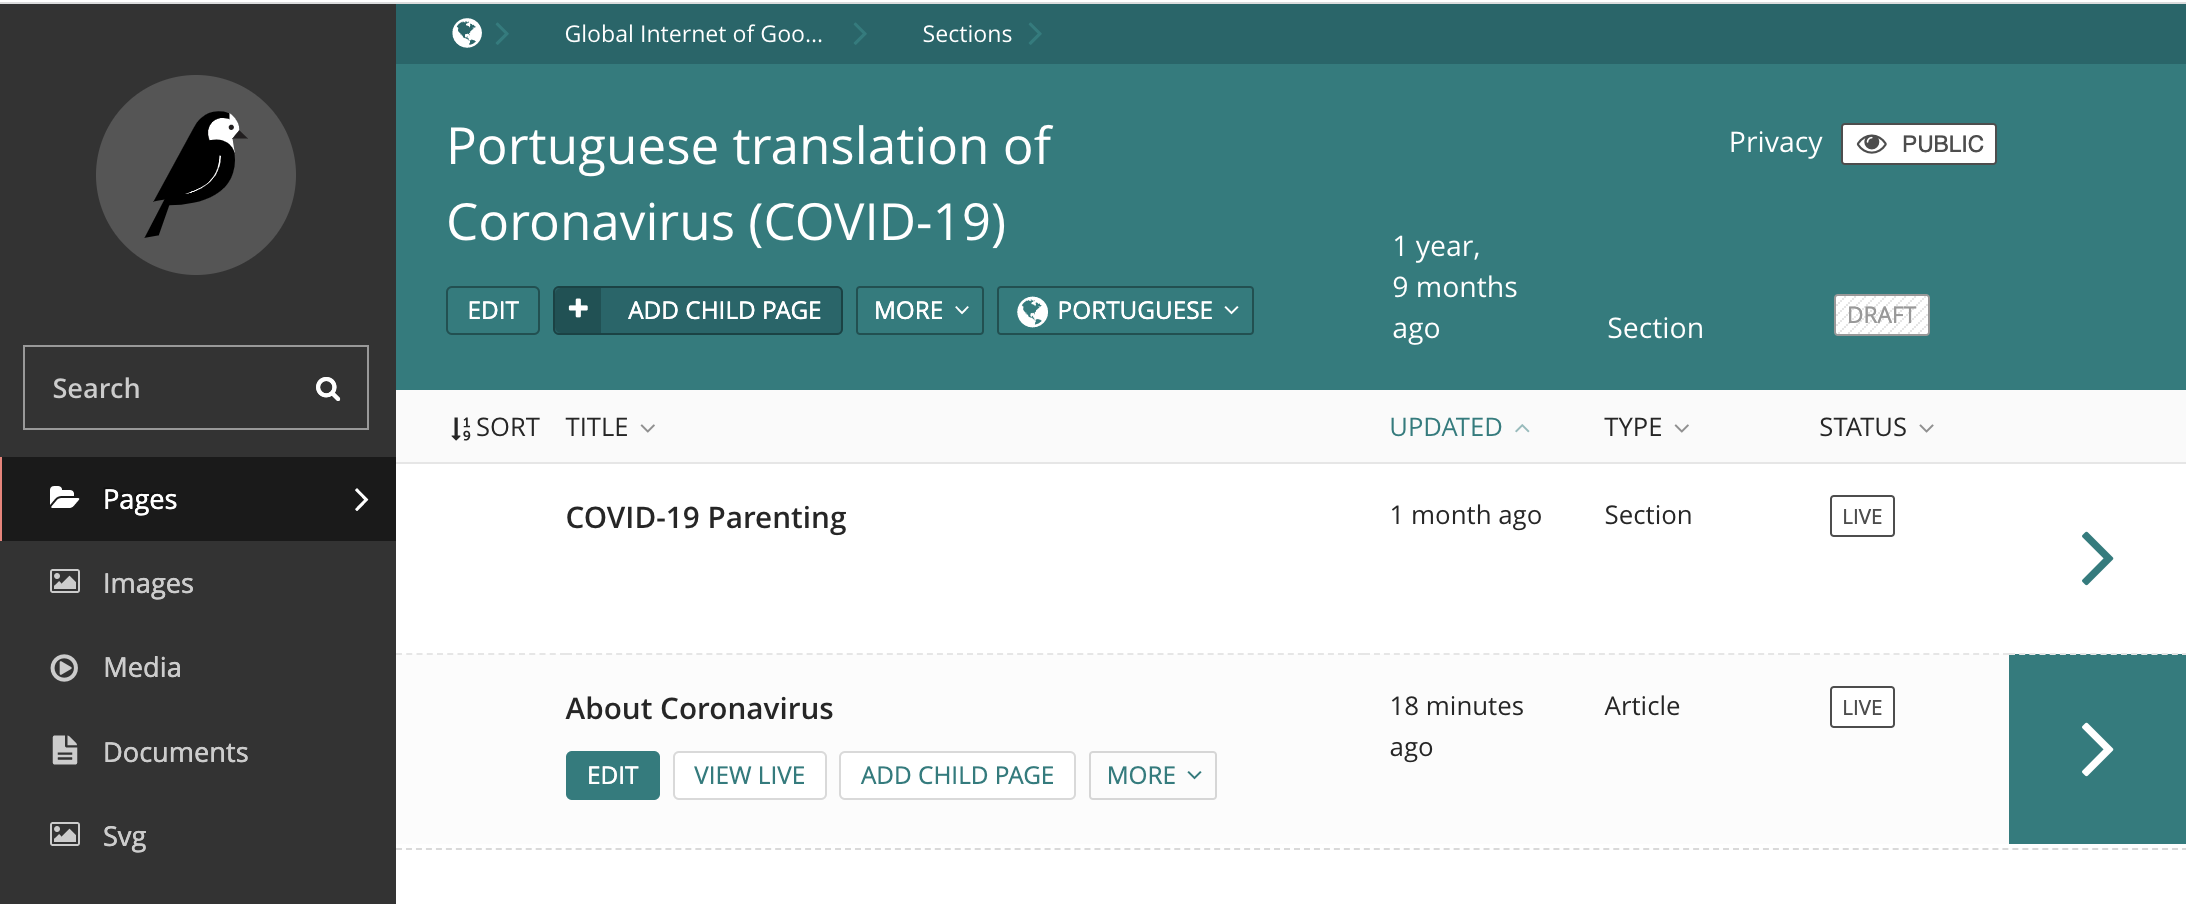
In the CMS, navigate to the parent page of the page you wish to translate. Find the page you wish to translate, select MORE under the page title, and then TRANSLATE THIS PAGE.
Step 2: Select Settings for Translation
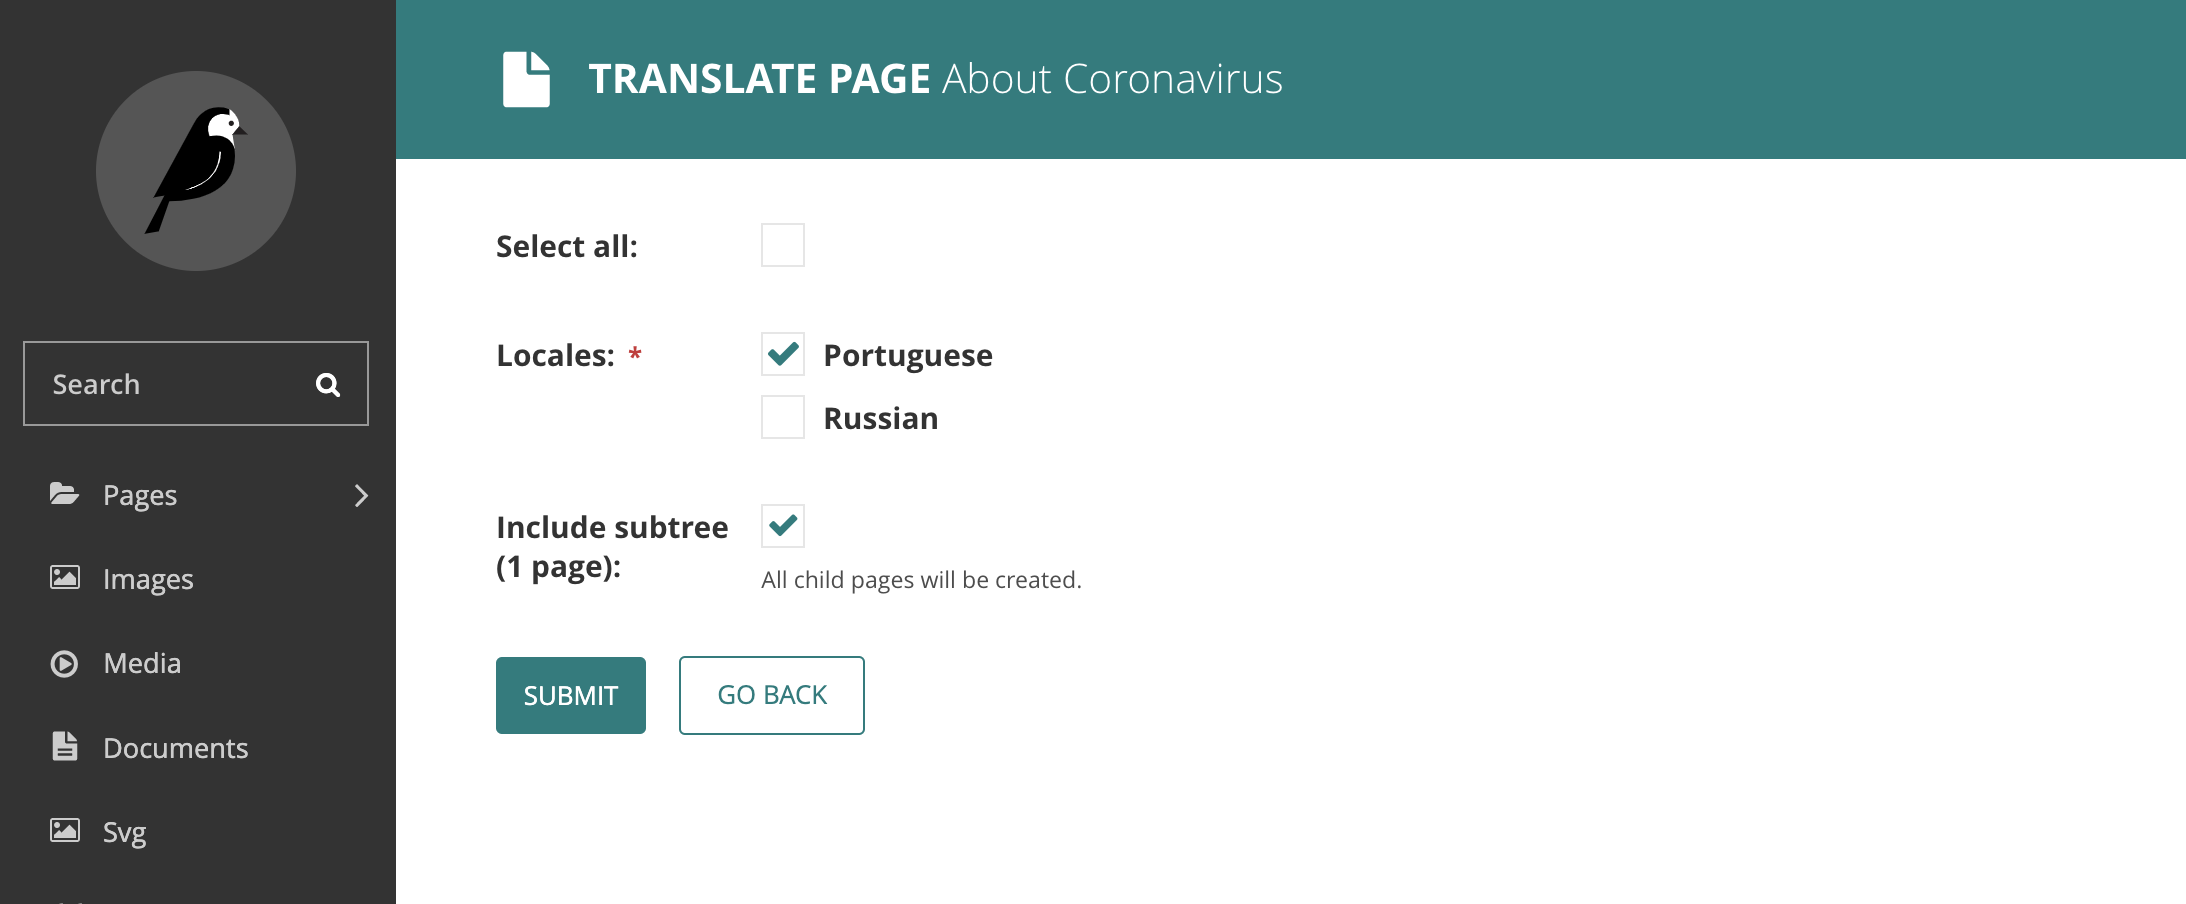
Once queried, a translation interface will appear. Here, select the languages you wish to translate, and whether you also want to include all children pages. Finally, select SUBMIT. If you are translating a whole section of the site, consider initiating the translation process for the parent section. This will allow you to automatically query a translation for all subordinate pages.
Note: all site languages will appear as options for translation, even if they are not set as active in Locale Details. If the page has already been translated to a secondary language, it will not appear as an option.
Step 3: Navigate to the New Language
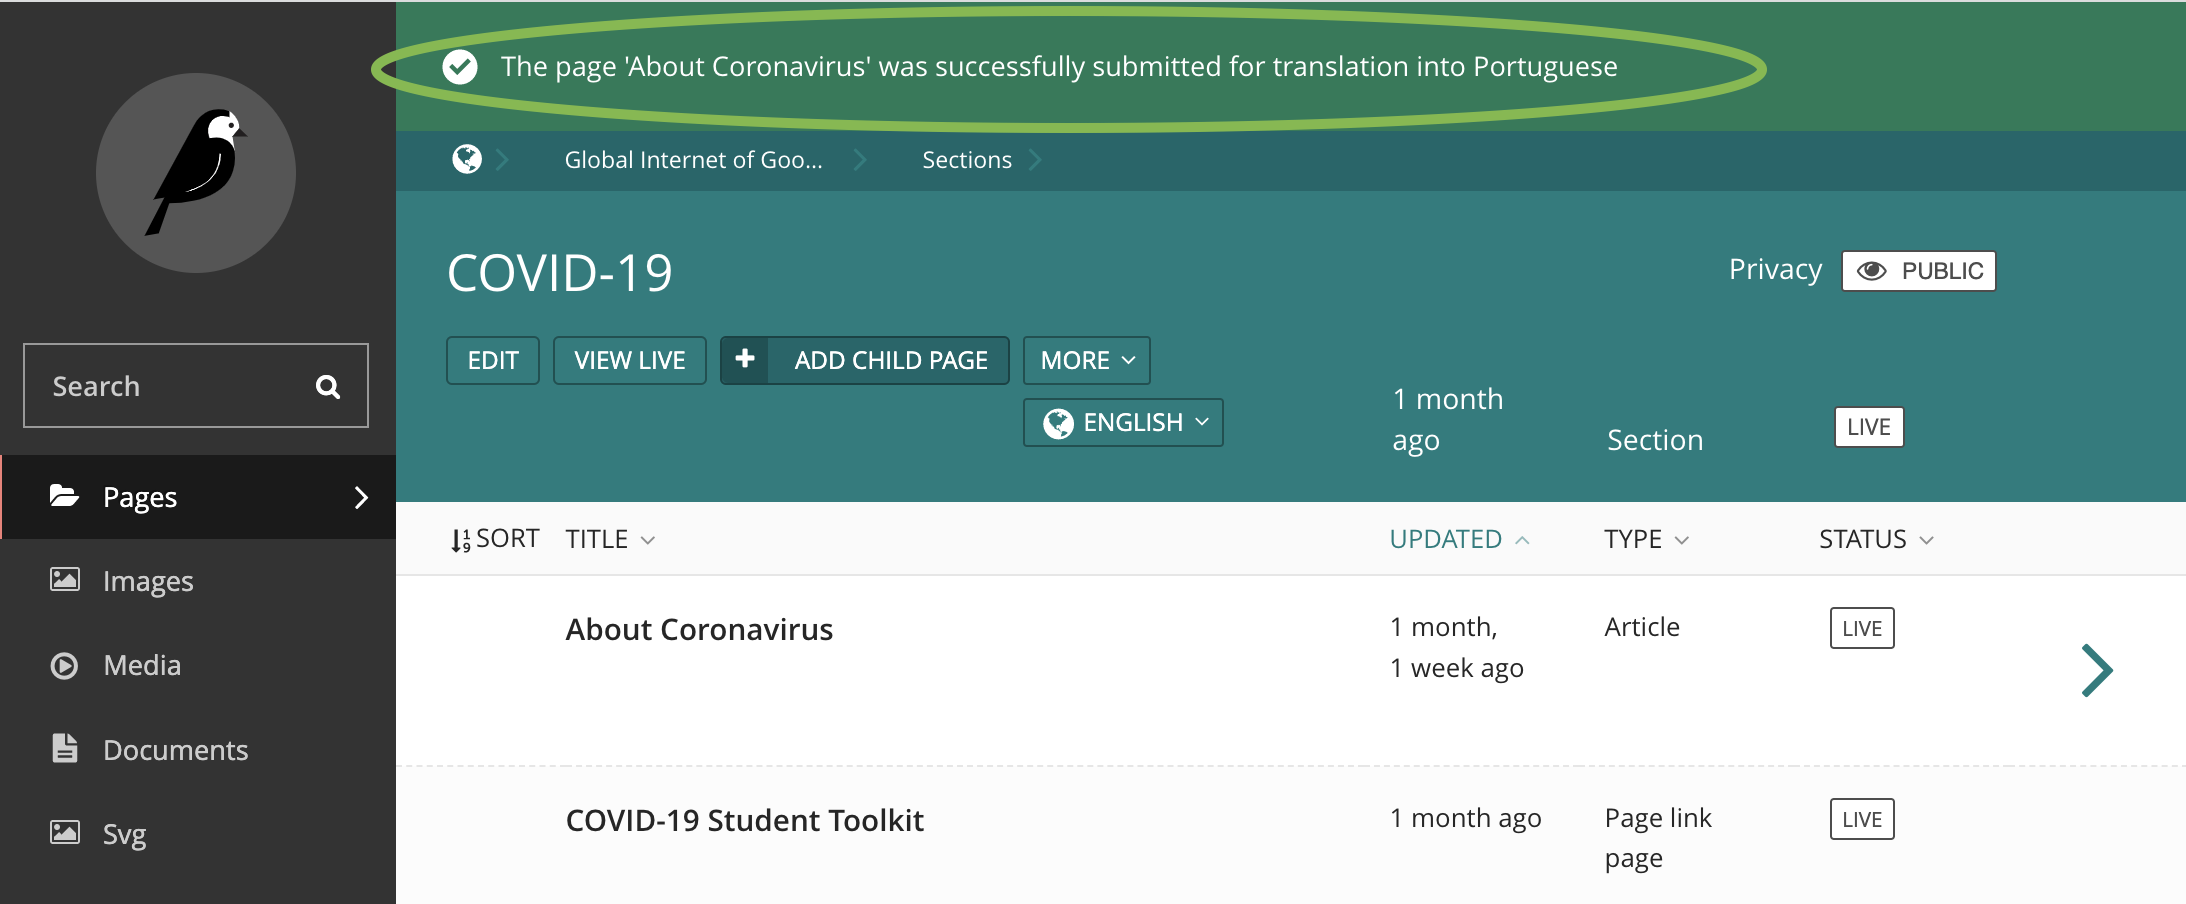
After completing Step 2, a message as below will appear:
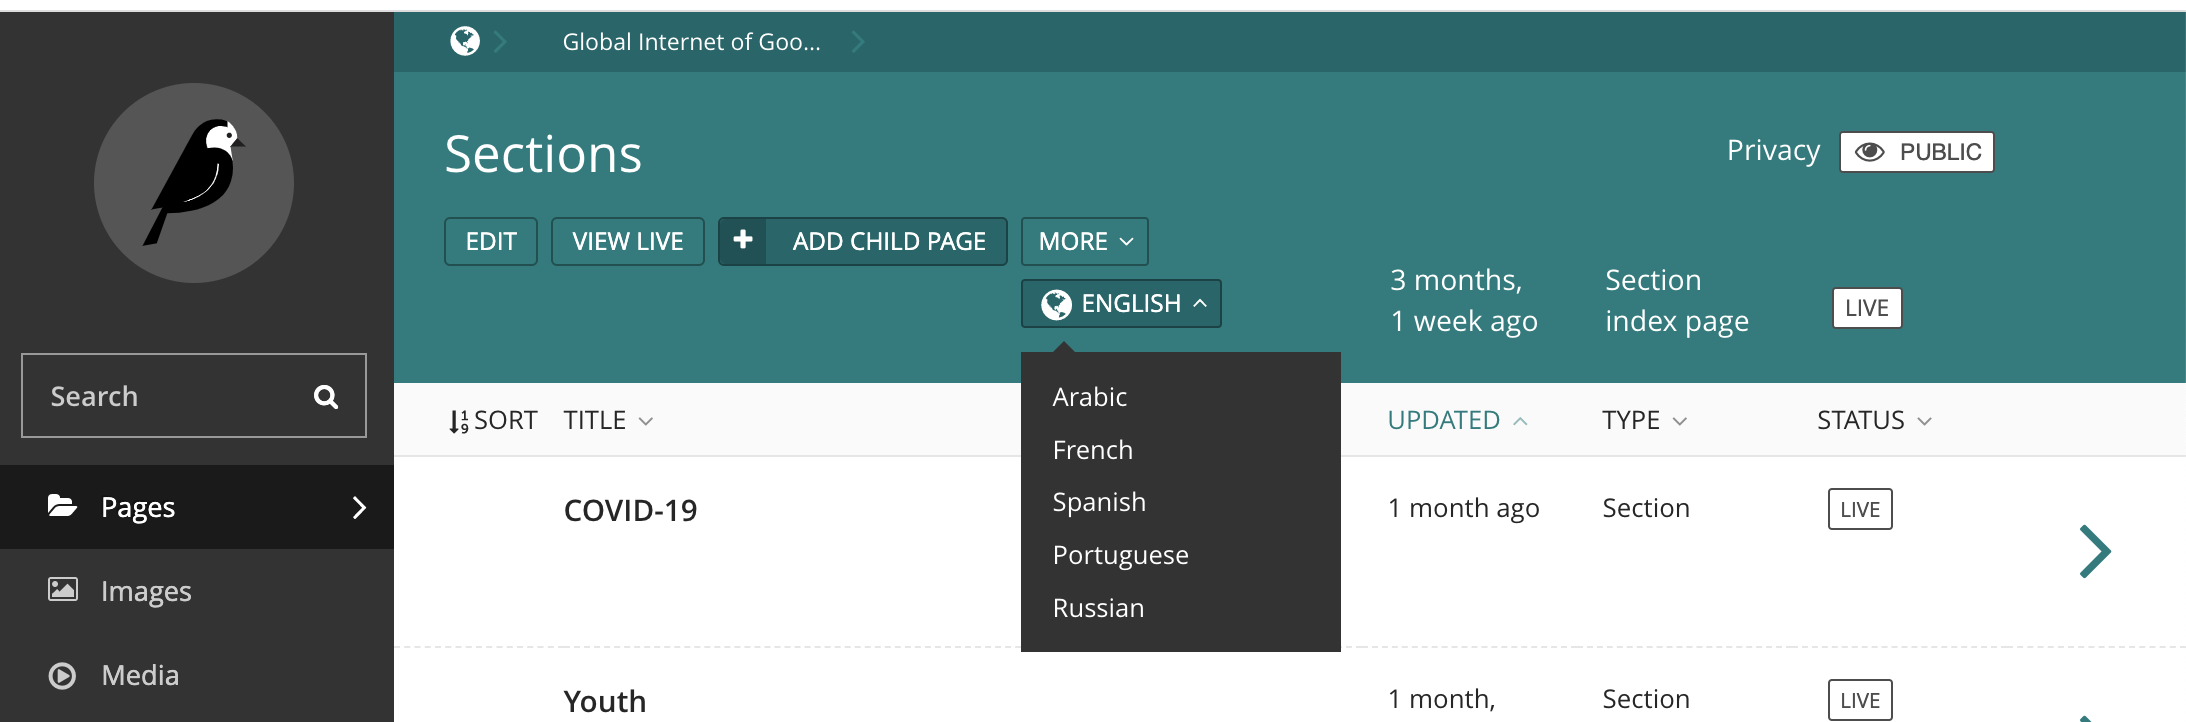
Change your language view:
Select EDIT on the new page:
Step 4: Translate the Page
Once EDIT is selected, a translation interface appears:
There are 3 means by which a page can then be translated:
- As a PO File
- Through the Translation Interface
- As a direct page edit
Explore each option below.
Country Offices may wish to have a partner complete the content translation for them. Learn how to create a translator user profile that protects CMS user data and other content while enabling partners to efficiently access and translate content.
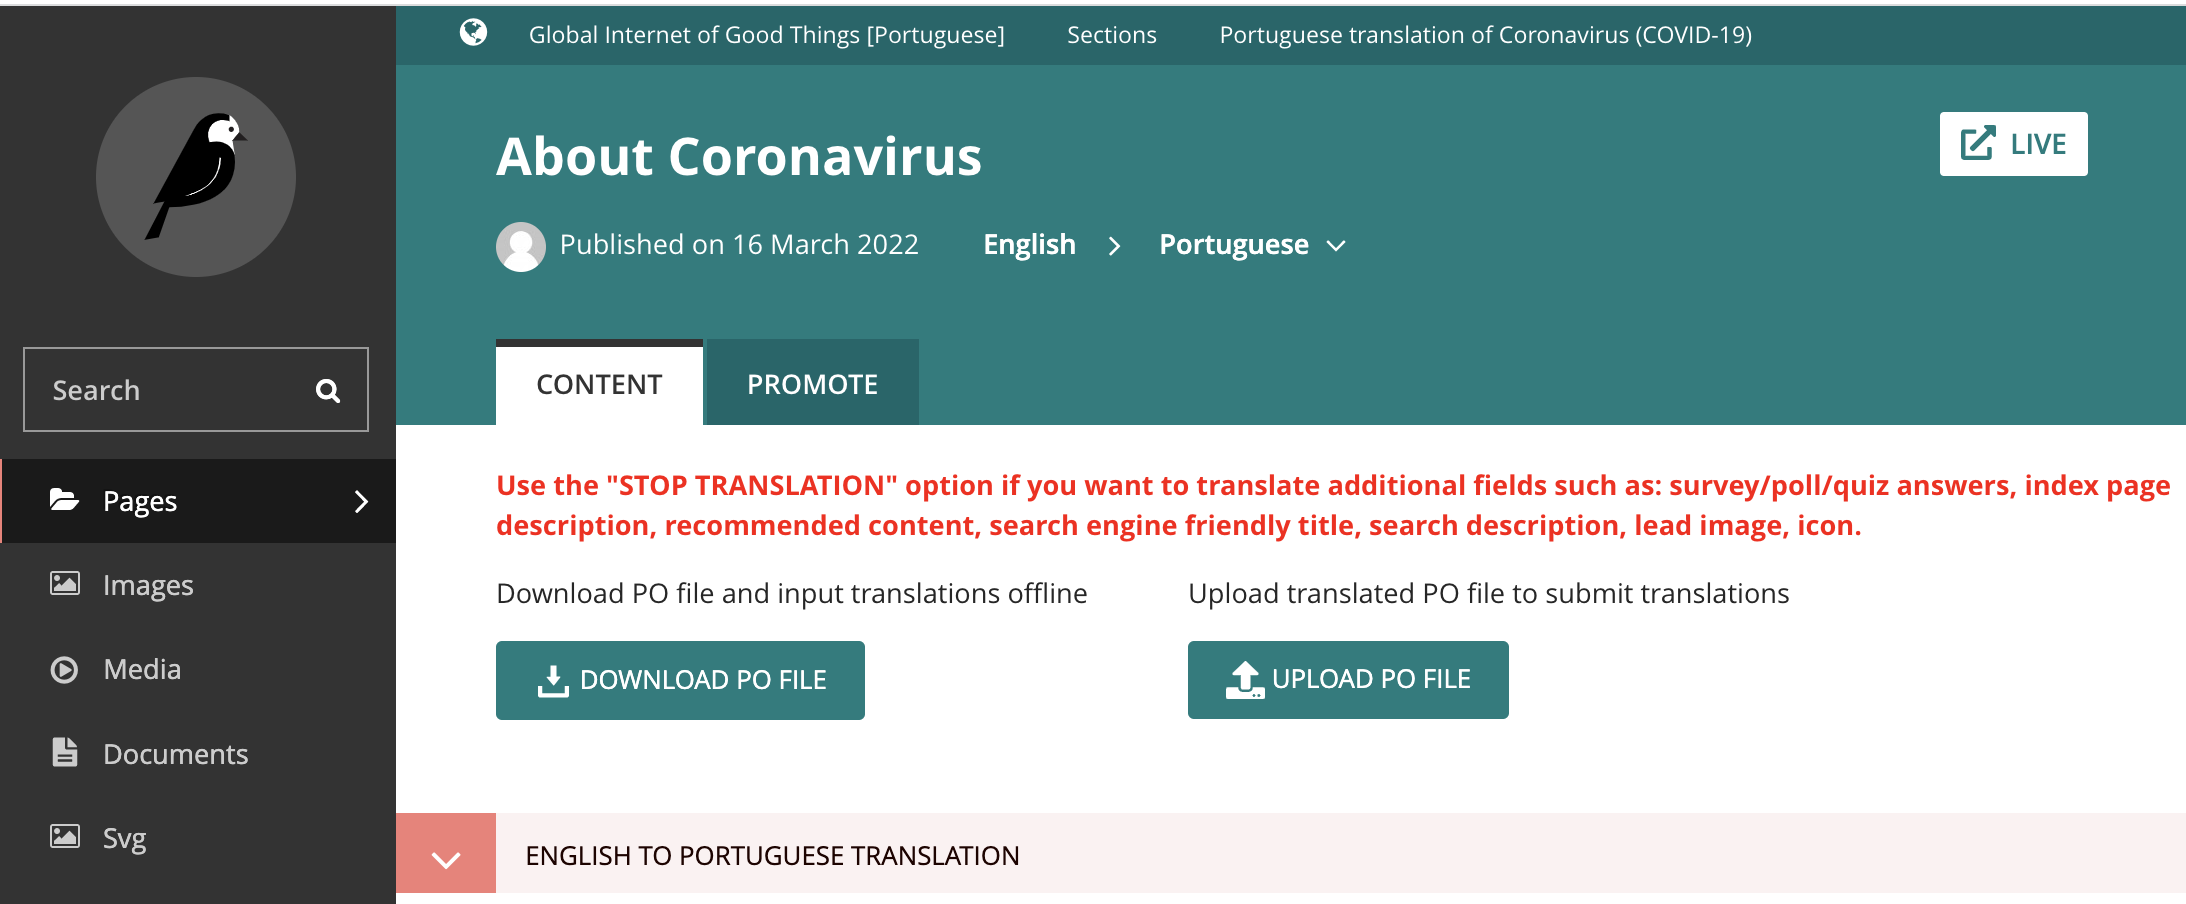
Step 4 / Option 1: Translating as a PO File
Page contents can be downloaded as PO files and then uploaded once completed by a partner.
Once the file has been uploaded, select STOP TRANSLATION from the bottom menu.
The page will now appear in regular editable format with text translations appearing.
Use this opportunity to translate or modify things that are not completed in the translation interface:
- Tags
- Slugs
- Promotional settings
- Embedded surveys, polls, and quizzes
- Videos
Note: there is no translation interface for a video. Each video is uploaded as an individual entity with no relationship to other videos. Consider using categories or tags to find videos by language.
Step 4/Option 2: Through the Translation Interface
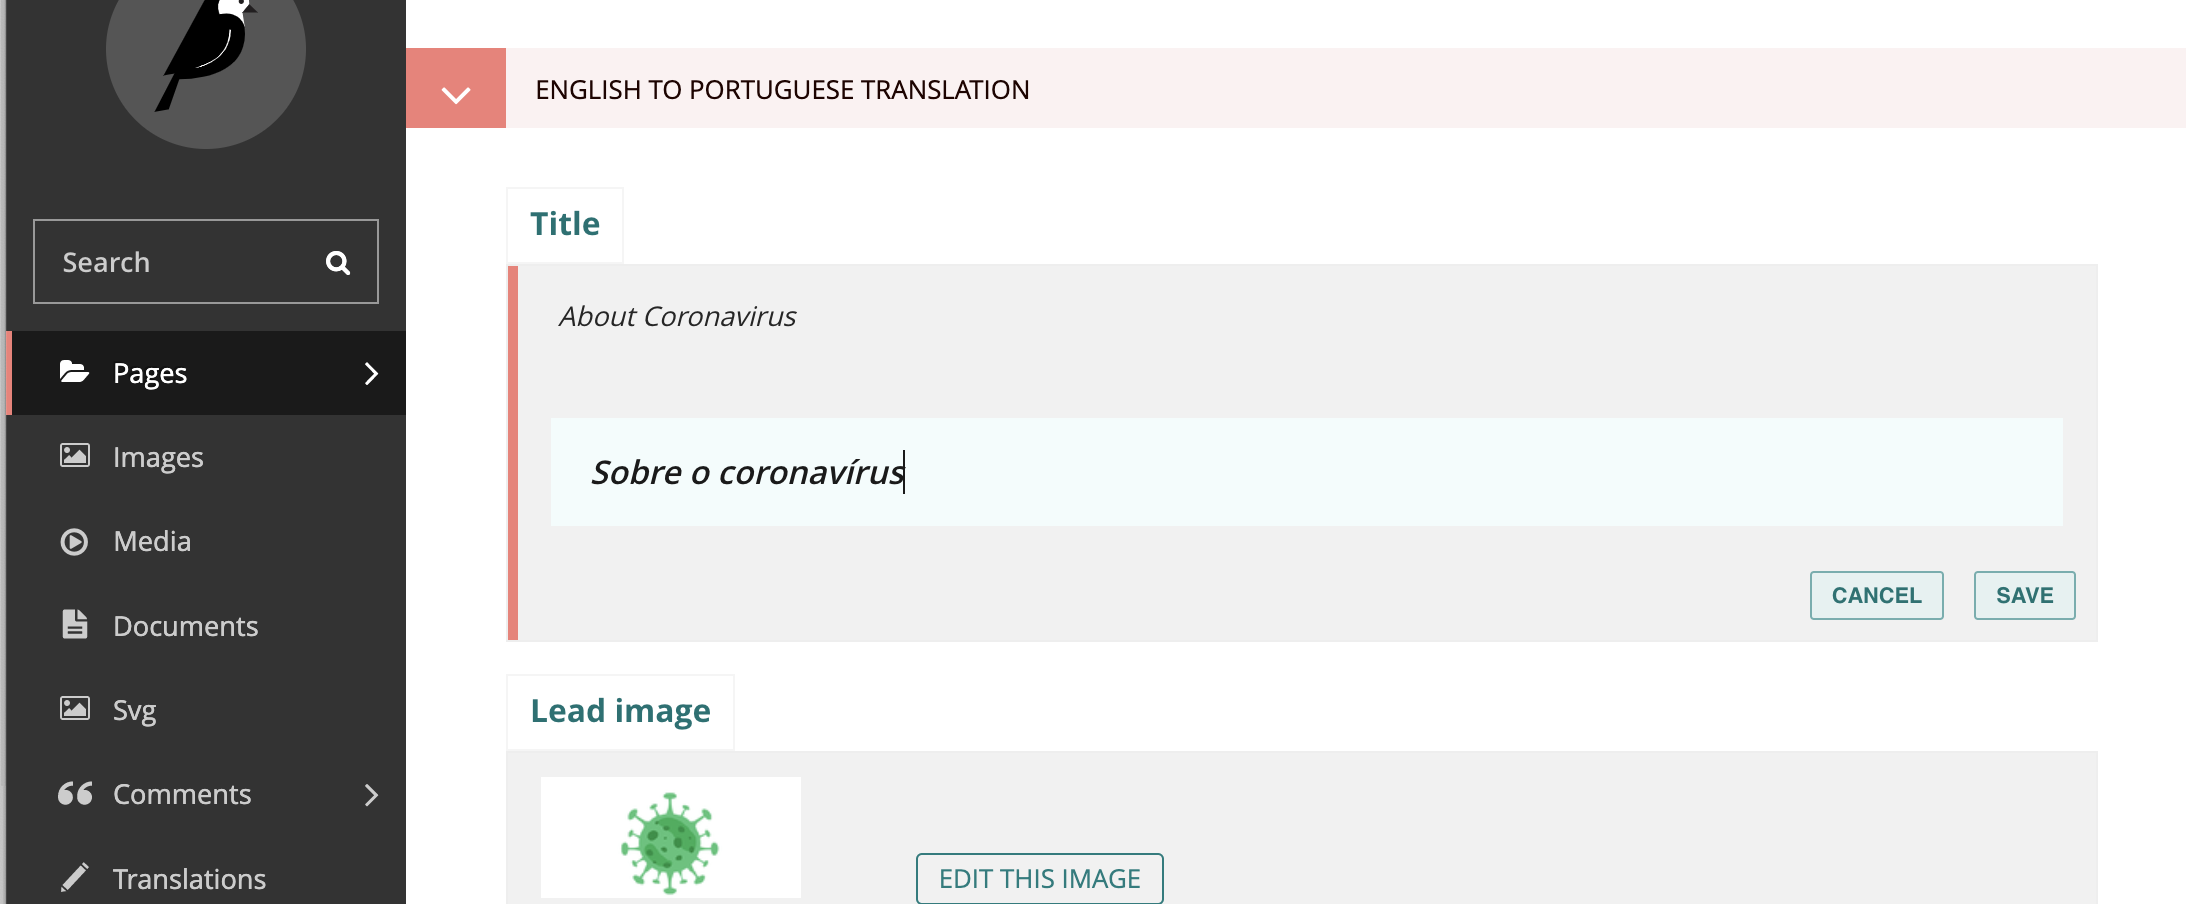
Pages can be edited through the IoGT translation interface. This is a guided process for translation, similar to common PO editing softwares. To begin, scroll to the content of your article and select TRANSLATE.
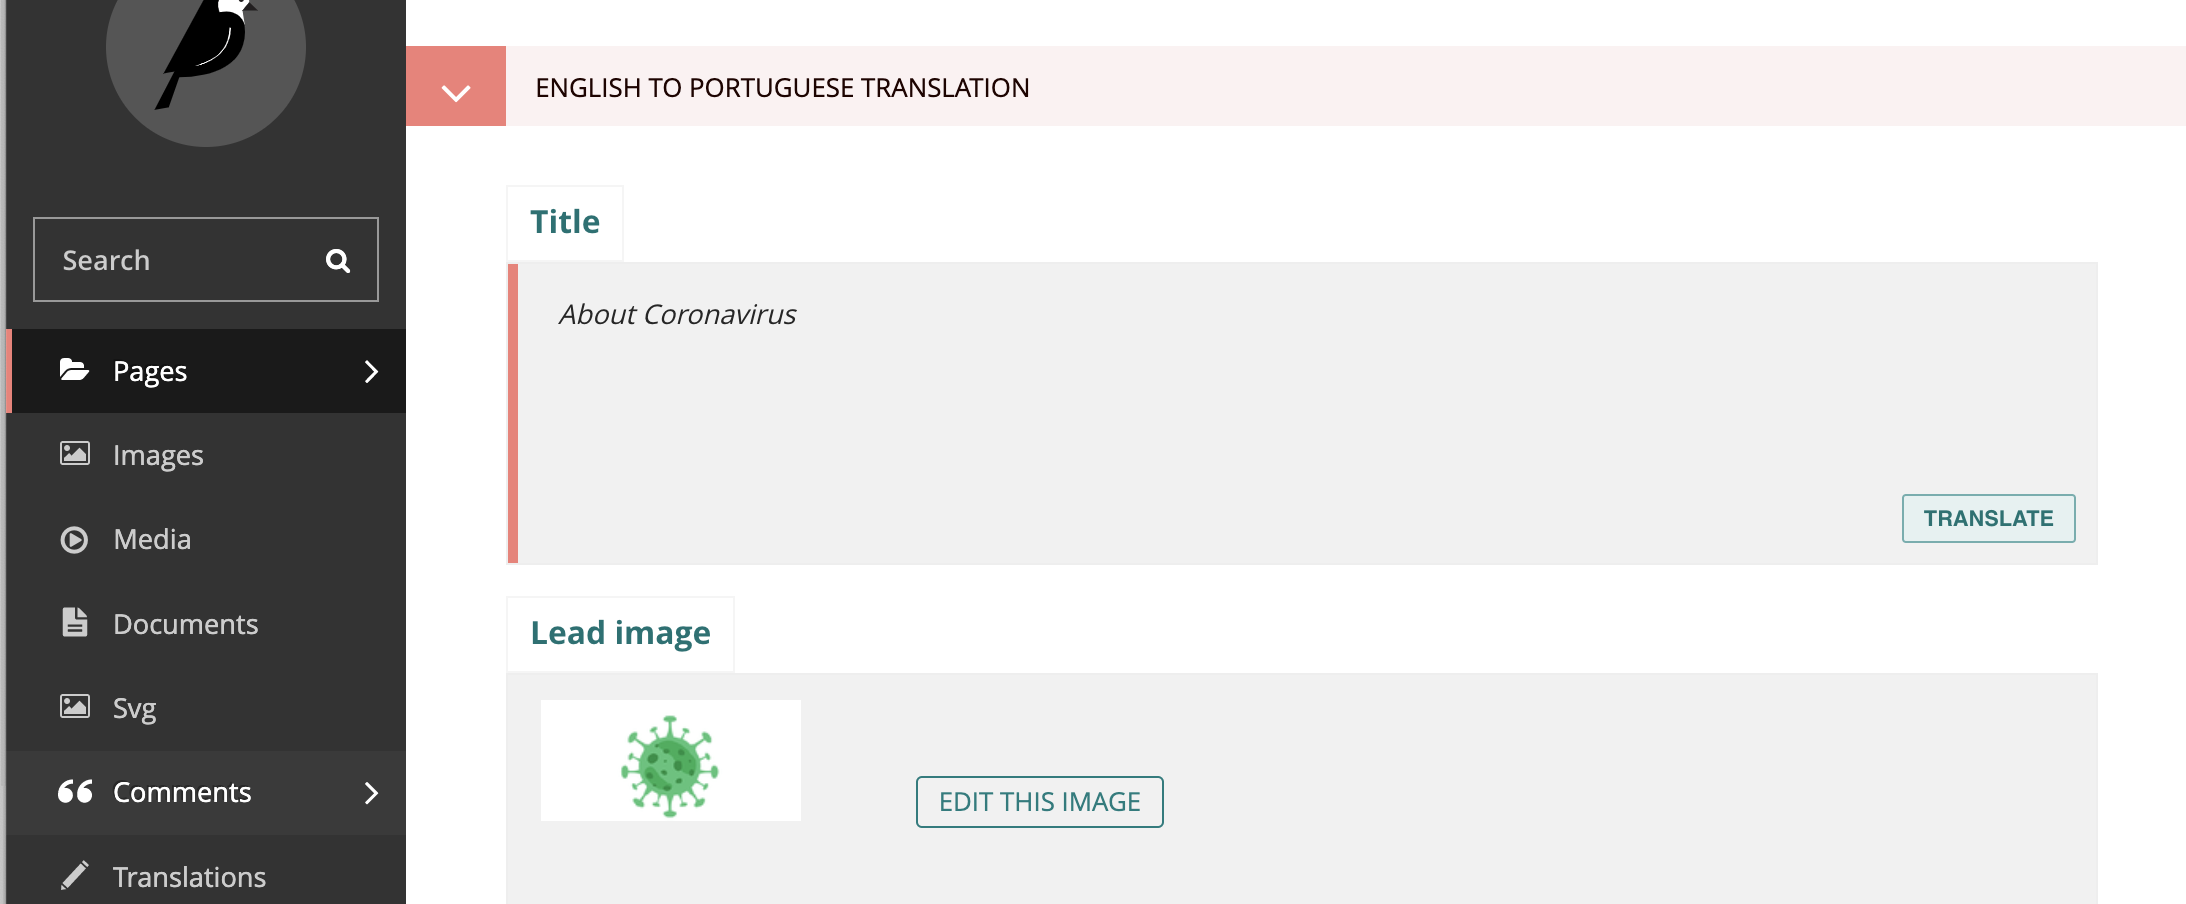
Type the translated text in the article and select SAVE.
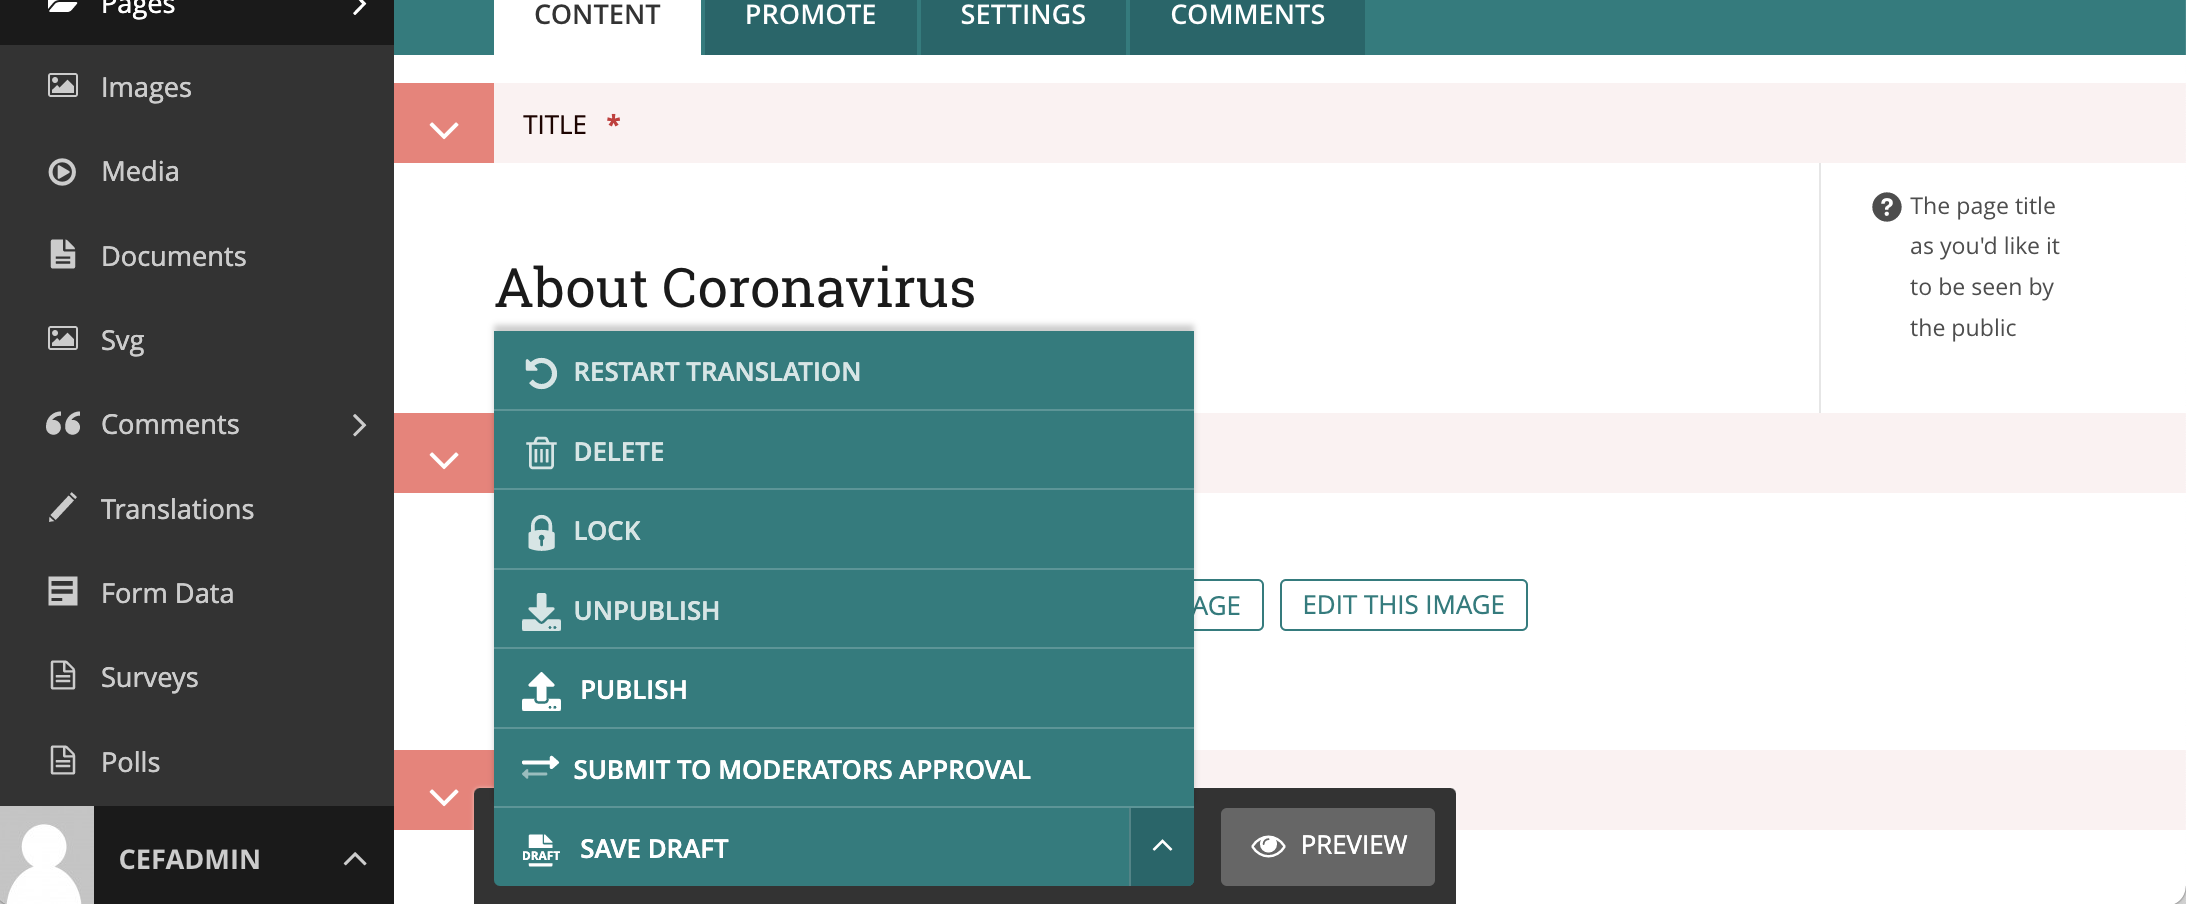
Once finished, select STOP TRANSLATION from the bottom menu and begin editing the remaining contents of the page. Once the edits are complete, select PUBLISH.
Step 4/Option 3: Direct Editing
If, as the CMS manager, you are also responsible for translation, you may prefer to directly edit the page. To do this, complete steps 1-3, scroll to the bottom of the new translation interface page, and select STOP TRANSLATION from the menu.
Edit the text fields directly on the editable page, rewriting text with the translation. Select PUBLISH.
Average Rating: ☆ ☆ ☆ ☆ ☆ (0 reviews)